Installing 3D epoxy on your floor can add a unique and stunning effect to your space. 3D epoxy flooring has become increasingly popular in recent years because of its durability, resistance to water and chemicals, and the ability to create intricate designs and patterns. However, installing 3D epoxy flooring can be a complex and time-consuming process, so it's important to follow these steps carefully to ensure a successful installation.
1. Prepare the surface for epoxy flooring
Before installing the 3D epoxy flooring, it's essential to prepare the surface properly. This involves removing any existing flooring, cleaning the surface thoroughly, and filling any cracks or holes. The surface must be completely smooth, clean, and free from any dust, debris, or grease.
2. Apply the primer for epoxy flooring
The primer is used to create a strong bond between the surface and the 3D epoxy flooring. Use a roller or brush to apply the primary coating to the entire surface. Allow the primary coating to dry completely before moving on to the next step.
3. Mix the epoxy for epoxy flooring
Before applying the 3D epoxy flooring, it's important to mix the epoxy resin and hardener together thoroughly. Follow the manufacturer's instructions for mixing the epoxy resin and hardener to ensure the correct proportions are used.
4. Apply the base coat for epoxy flooring
After the epoxy mixture is ready, apply the base coat to the surface. Use a paint roller to spread the epoxy evenly over the entire surface. Make sure to work quickly as the epoxy dries fast. Spread the base coat evenly and ensure that it's thick enough to create a smooth surface.
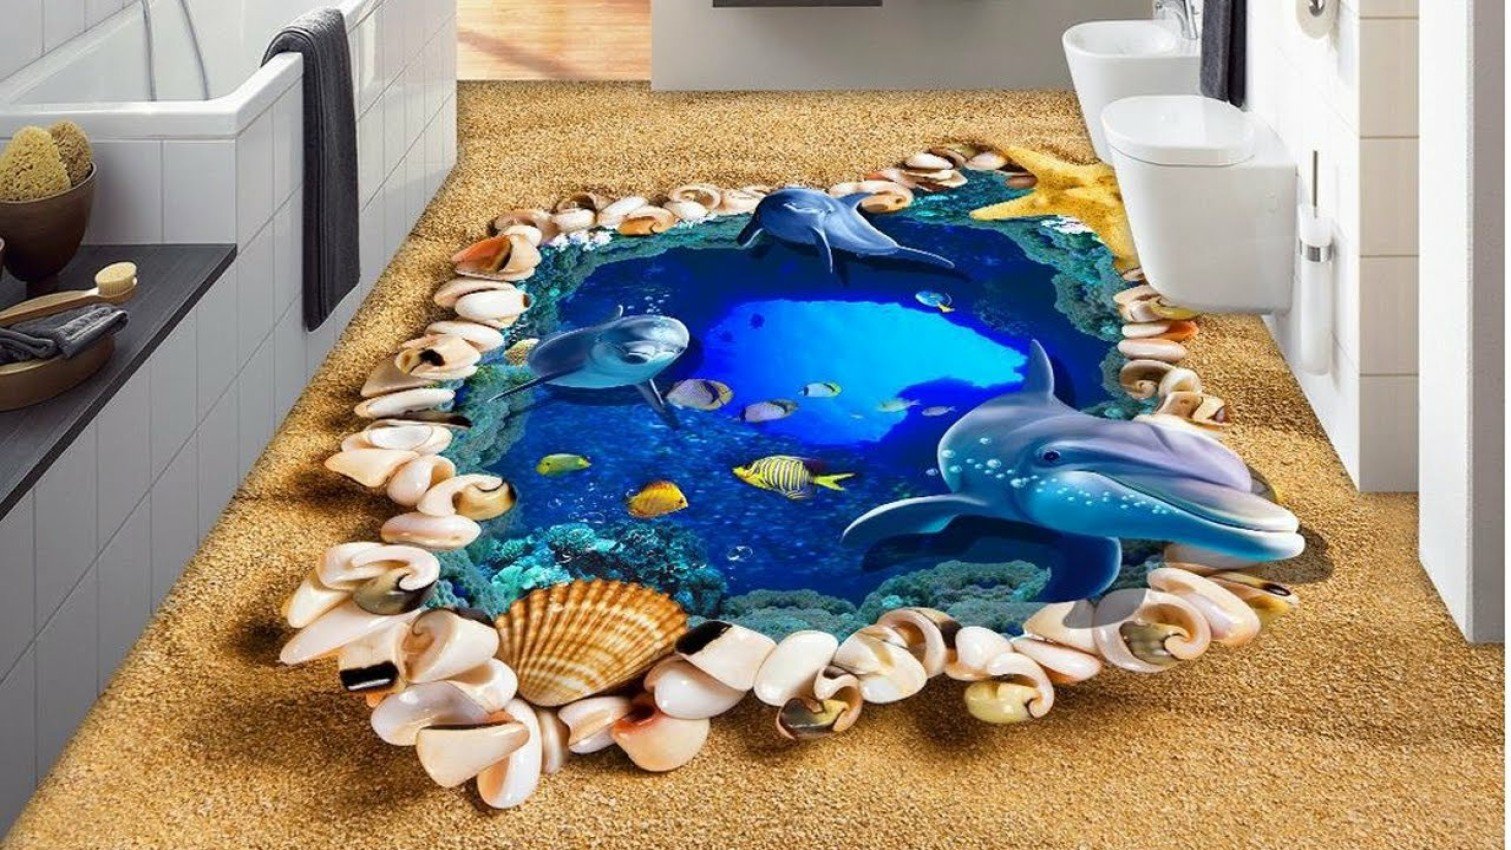
5. Add the 3D design
After applying the base coat, it's time to add the 3D design. This is the most exciting part of the process because it allows you to get creative with your design. You can choose from a range of designs, including geometric patterns, marble, and oceanic designs. It's important to have a clear idea of the design you want before starting the installation process.
6. Add the top coat
After the 3D design is added, it's time to apply the top coat. The top coat is the final layer that will protect the 3D design and make the floor more durable. Use a paint roller to spread the top coat evenly over the entire surface. Make sure to apply the top coat in thin layers, allowing each layer to dry before applying the next.
7. Allow the floor to dry
After completing the installation process, it's important to allow the 3D epoxy flooring to dry completely. This may take several hours or even days, depending on the humidity and temperature of the room. Make sure to avoid walking on the floor until it's completely dry.
Tips and tricks for installing 3D epoxy flooring
- Always follow the manufacturer's instructions for mixing and applying the epoxy resin and hardener.
- Wear protective gear, including gloves and safety glasses, when working with the epoxy mixture.
- Plan your design carefully before starting the installation process.
- Make sure to apply the base coat and top coat evenly to avoid any bumps or uneven areas.
- Regular cleaning and maintenance of the 3D epoxy flooring can help to extend its lifespan and maintain its shine.
In conclusion, installing 3D epoxy flooring can be a complex and time-consuming process, but it's well worth the effort for the stunning and unique effect it can bring to your space. By following these steps carefully and planning your design, you can create a beautiful and durable floor that will last for many years to come.